Do you want to take screenshots on a Windows PC and don’t know how to do it, this guide is for you. In this guide we’ll share some quick ways that can help you capture a specific area or a full screen. We’ll discuss different ways, like using keyboard shortcuts and snipping tools to take screenshots on Windows 11, 10, and 8. These tricks and keyboard shortcuts work for other windows as well.
4 Easy Ways to Take Screenshots on Windows
As mentioned earlier, there are various ways to take screenshots on Windows, but we’ll discuss the most widely used tricks for taking screenshots. So, let’s start.
1. Windows Plus Print Screen Keys
It’s the most common and quick method of taking a screenshot. By pressing “Windows and PrtScr” together, you can capture the full screen of a laptop or PC. To find this screenshot, go to the “Pictures” Folder, and there you will see the “Screenshots” Folder.
2. Alt Plus Print Screen Keys
If you want to capture one Window instead of a full screen, this method is useful. Hold the “Alt and PrtScr” keys for a few seconds. It will copy the image of the Window to the clipboard. The issue with that method is you’ll not get any confirmation that the screenshot was taken or not. You can open a Word File and simply use “Ctrl V” to paste the copied screenshot.
You can also open “Paint” on your laptop or PC and use the command “Ctrl V” to paste the copied screenshot. The best part about this method is you can paste that screenshot into an email or any open document.
3. Use Snipping Tool
It’s a built-in feature in almost all Windows. With this method, you can capture a particular Window, full screen, or partial screen. After taking the screenshot, it’s easy to save it in your required format.
You can find the Snipping Tool feature in 2 ways.
- Use the “Search Feature” given at the bottom or in the taskbar section.

- Click on it and type “Snipping Tool.”
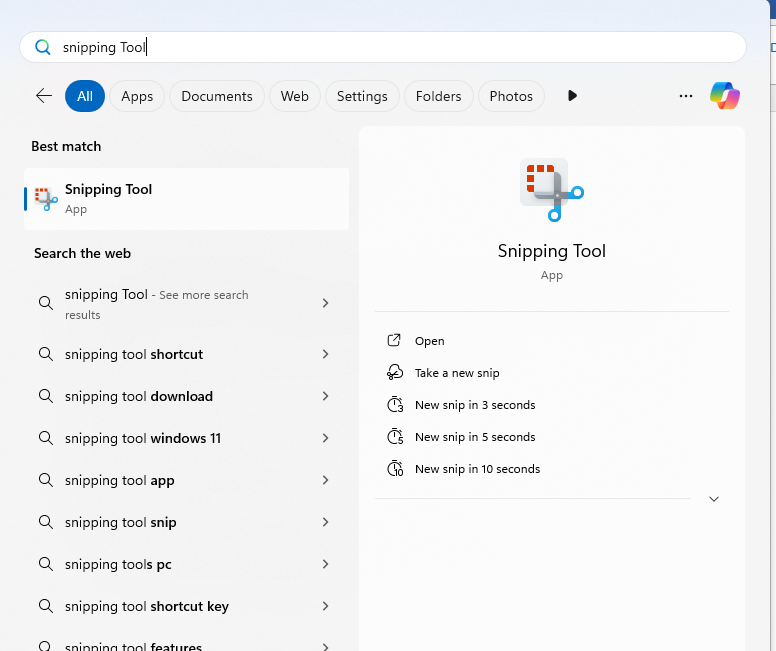
- The second way is to press the Window Key and again use the search bar to find the snipping tool.
When you open the Snipping Tool, click on “New” and capture the area of the Window or screen that you want to screenshot.
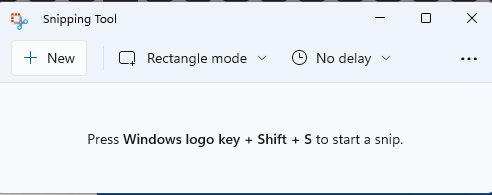
Take Screenshots on Windows with the Snipping Tool
With the Snipping tool, you can use “Full Screen Mode, Rectangular Mode, Window Mode, or Freeform Mode.
Once you take the screenshot, Press the Ctrl and S key at the same time to save it.
4. Press Windows Key + Shift + S
This method is also used to take a screenshot using the “Snipping Tool,” but this is a quick and effective method. This method will capture the screen, and it will be saved in a clipboard, and you can use it wherever you want.
Conclusion
All the ways discussed in this guide are helpful for taking screenshots in Windows 7, 8, 10, and 11. There will be slight differences in the interface and settings, but the shortcut keys and other processes will be the same. So, that’s how you can screenshot on Windows.